The browser you are using is not supported. Please consider using a modern browser.

Checklist for Getting Custom Shirts Printed
Checklist for Getting Custom Shirts Printed
Getting custom shirts printed is an exciting way to express your creativity and showcase your brand. However, to ensure a smooth and successful printing process, it’s important to be prepared and organized. Whether you’re a business owner, event organizer, or an individual looking for personalized tees, this checklist will guide you through the essential steps to make your screen printing experience a breeze. This post is intended for those of you who are eager to be as involved as possible in the process, but don’t get overwhelmed. Making our customers happy is why we do what we do here at Charm City Screen Print, so we’ll do the heavy lifting to make this a hassle-free collaboration. Once we have your artwork, the shirt brand of your choice, and a breakdown of the sizes and quantities for your order, our team will take it from there.
1. Artwork Preparation:
Before diving into the printing process, clearly define your design concept. Consider factors such as color palette and design size. A well-defined design will make it easier for us to understand your vision.
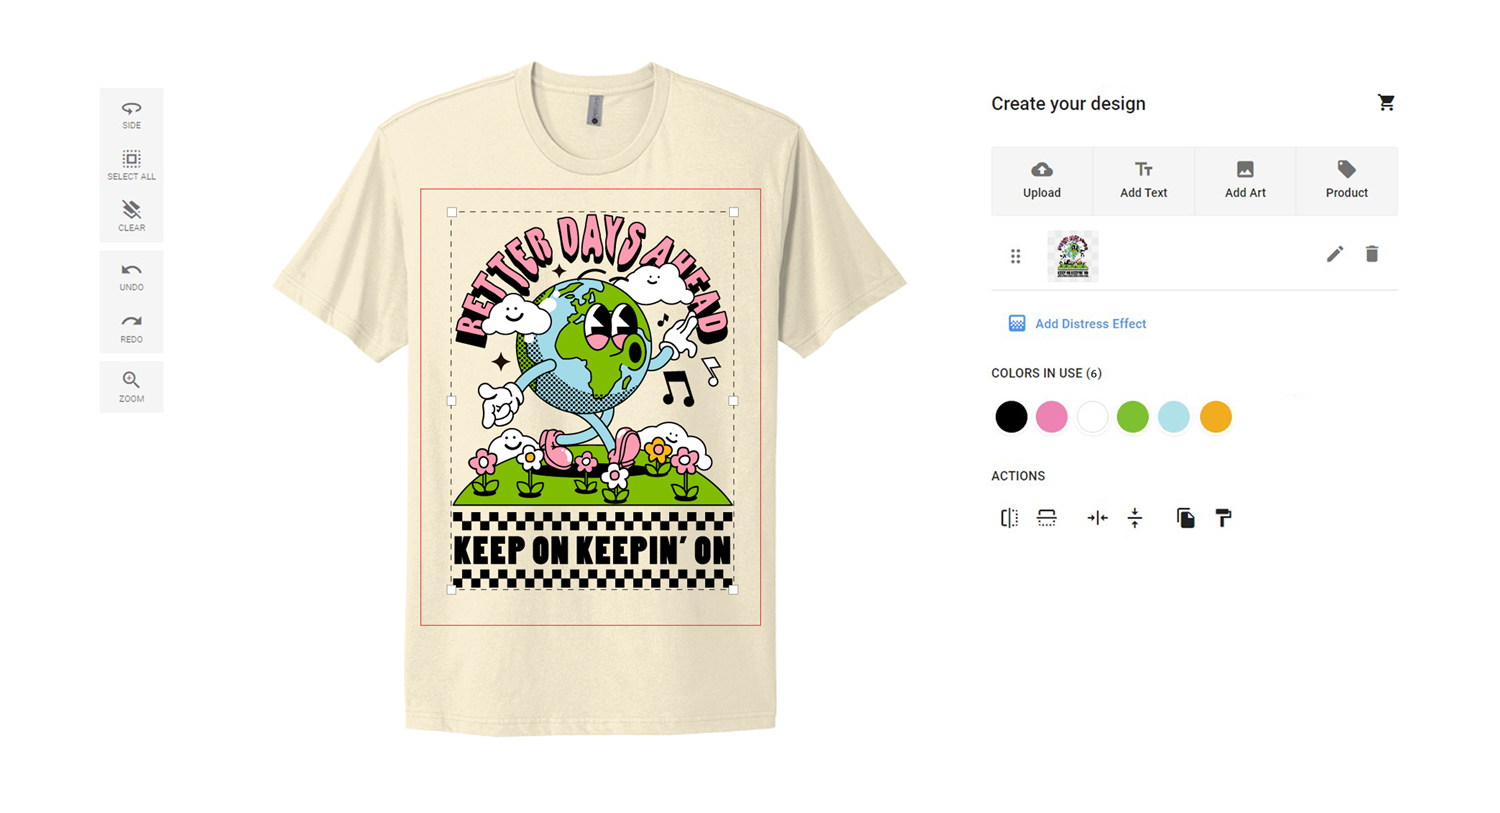
If you need something new designed, our art department will gladly create something for you. Give us the details and we’ll quote your design before getting started. If you have existing artwork, you can head over to our Design Studio and test out your designs on our large catalog of T-shirts.
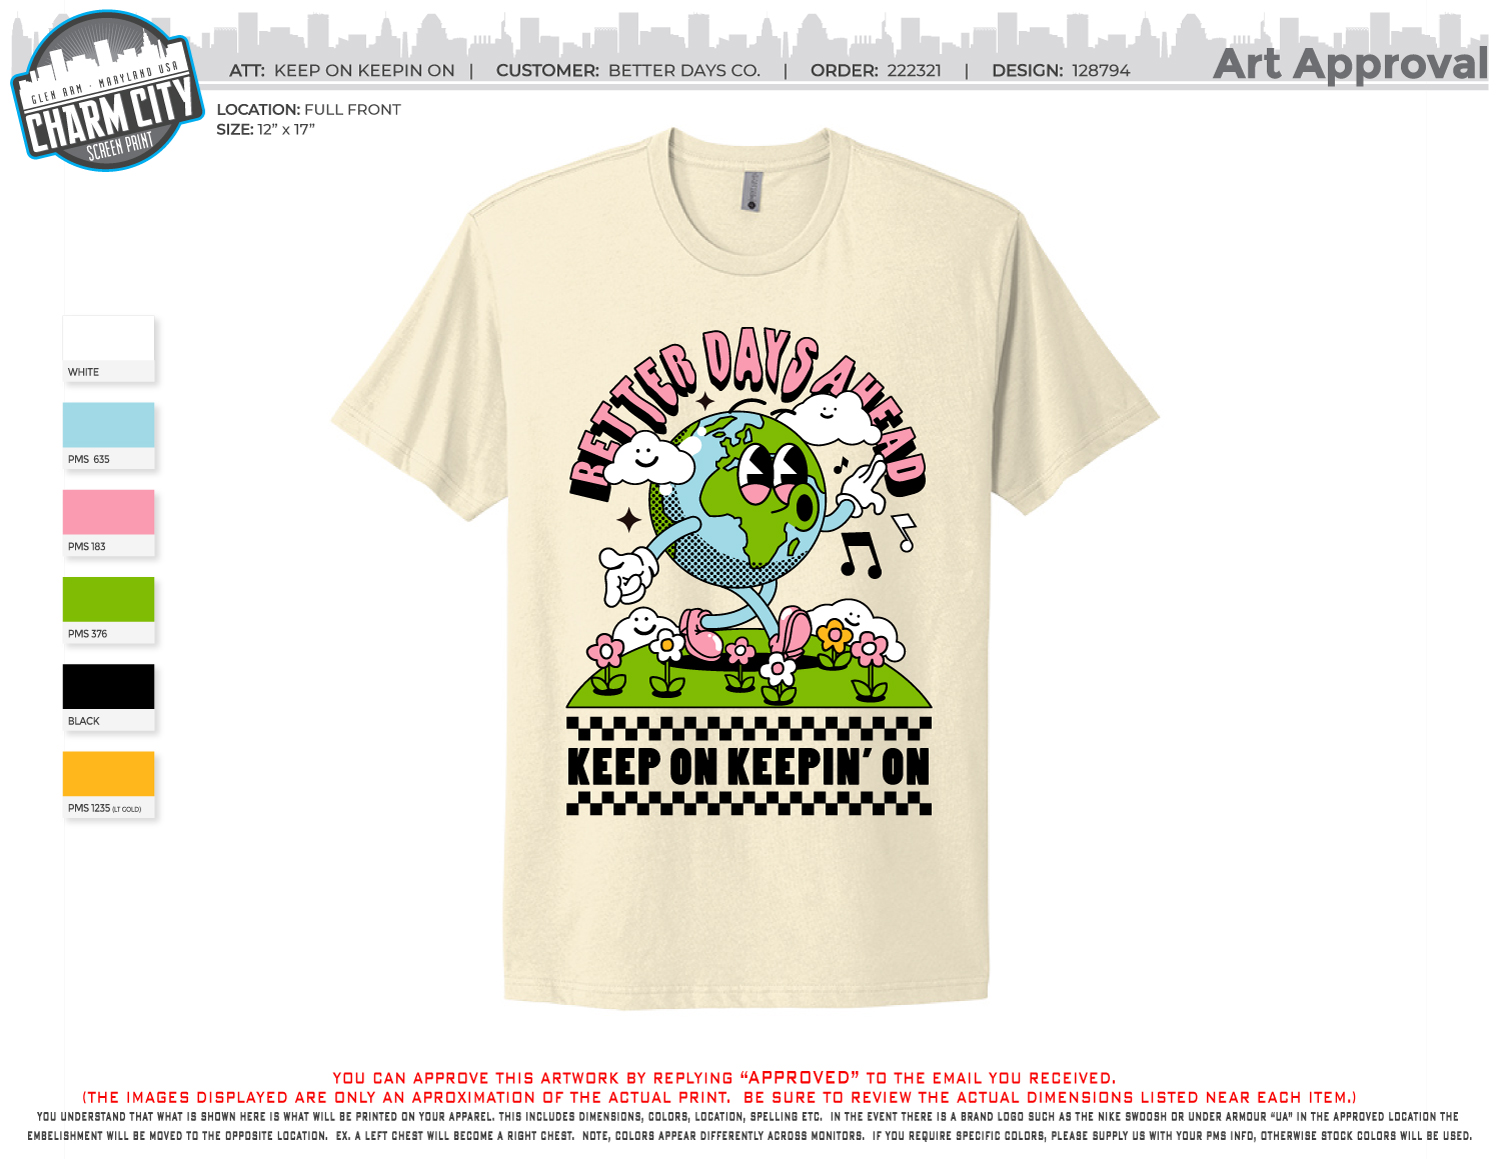
2. Pick the Brand of Shirt:
Decide on the type of T-shirt you want to print on (e.g., fabric, color, style). Keep in mind that larger orders offer better pricing per unit. Take a look at our blog post, T-shirt Fabric 101, to learn about different shirt fabrics with some helpful links to some of our most popular tees.
3. Determine the Quantity & Size Breakdown:
Before getting your custom shirts printed, we’ll need to know how many shirts you’re ordering and what sizes you’ll need. If you’re not sure exactly how many to get of each size, a common breakdown is 20% smalls, 30% mediums, 30% larges, 10% XL and 10% 2XL. It’s worth noting that sizes 2XL and 3XL are generally $2 more per shirt.
4. Verify Artwork Specifications:
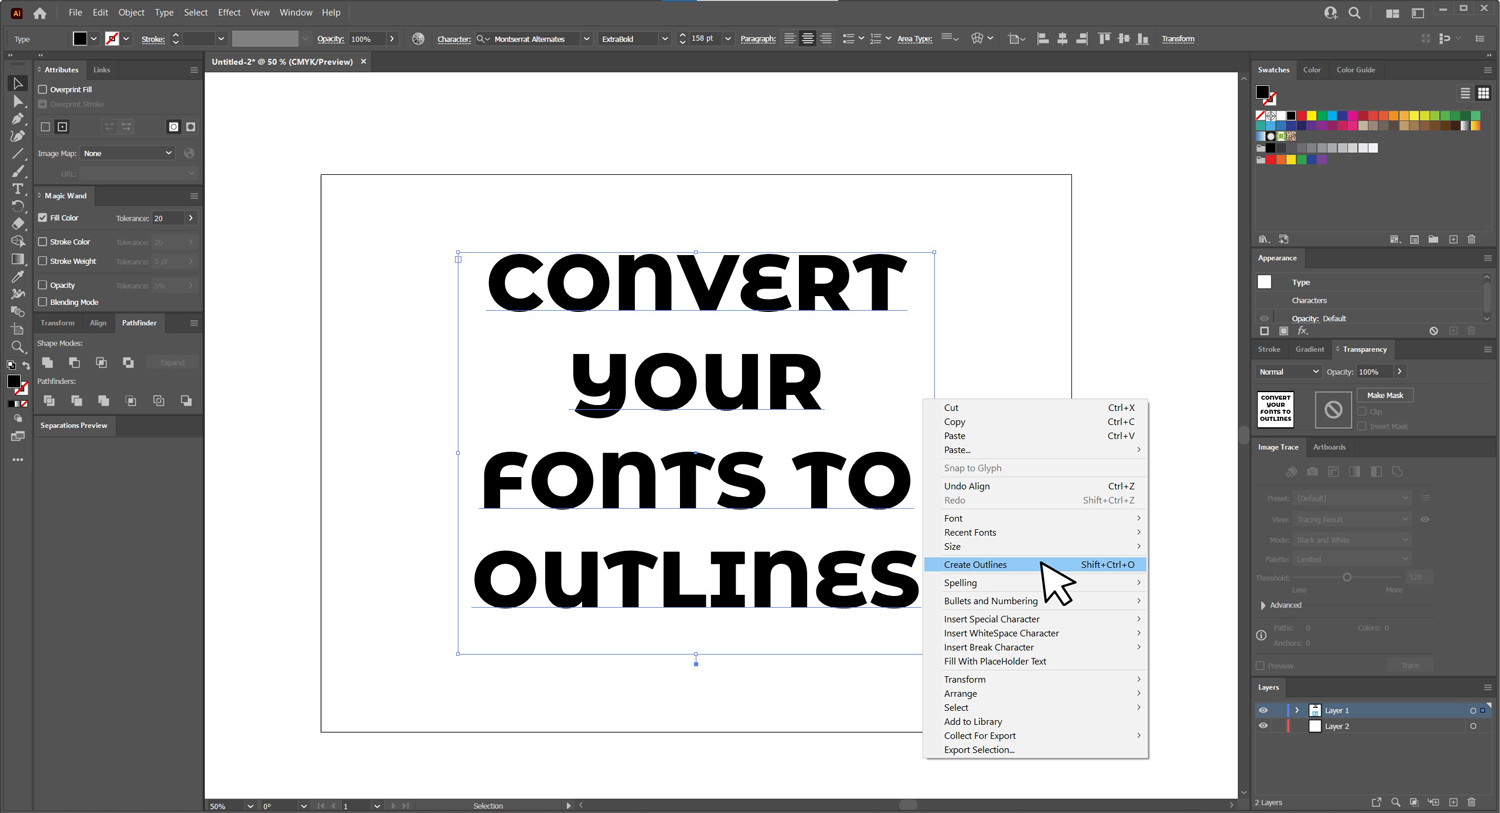
If you’re supplying your own design, we prefer the following file formats: .AI, .EPS, .PSD, or a high resolution .JPG or .PNG saved at 300dpi. Ensure that your artwork has the correct dimensions and has all text converted to outlines so we won’t need your font files.
5. Determine Print Locations:
Specify where you want your design to be printed on the T-shirt (front, back, sleeves, etc.). Ensure your design fits well within the chosen print area and doesn’t get distorted.
We typically print designs around 12″ wide on adult T-shirts and around 10″ wide on youth T-shirts. Our maximum print size for adult tees is 14″ wide by 18″ tall. You can refer to the graphic below to get an idea for how to size your designs based on their location. Our art department will gladly resize the designs on your shirts when mocking up a proof for your order. If you have any questions, feel free to reach out and we’ll be happy to help.

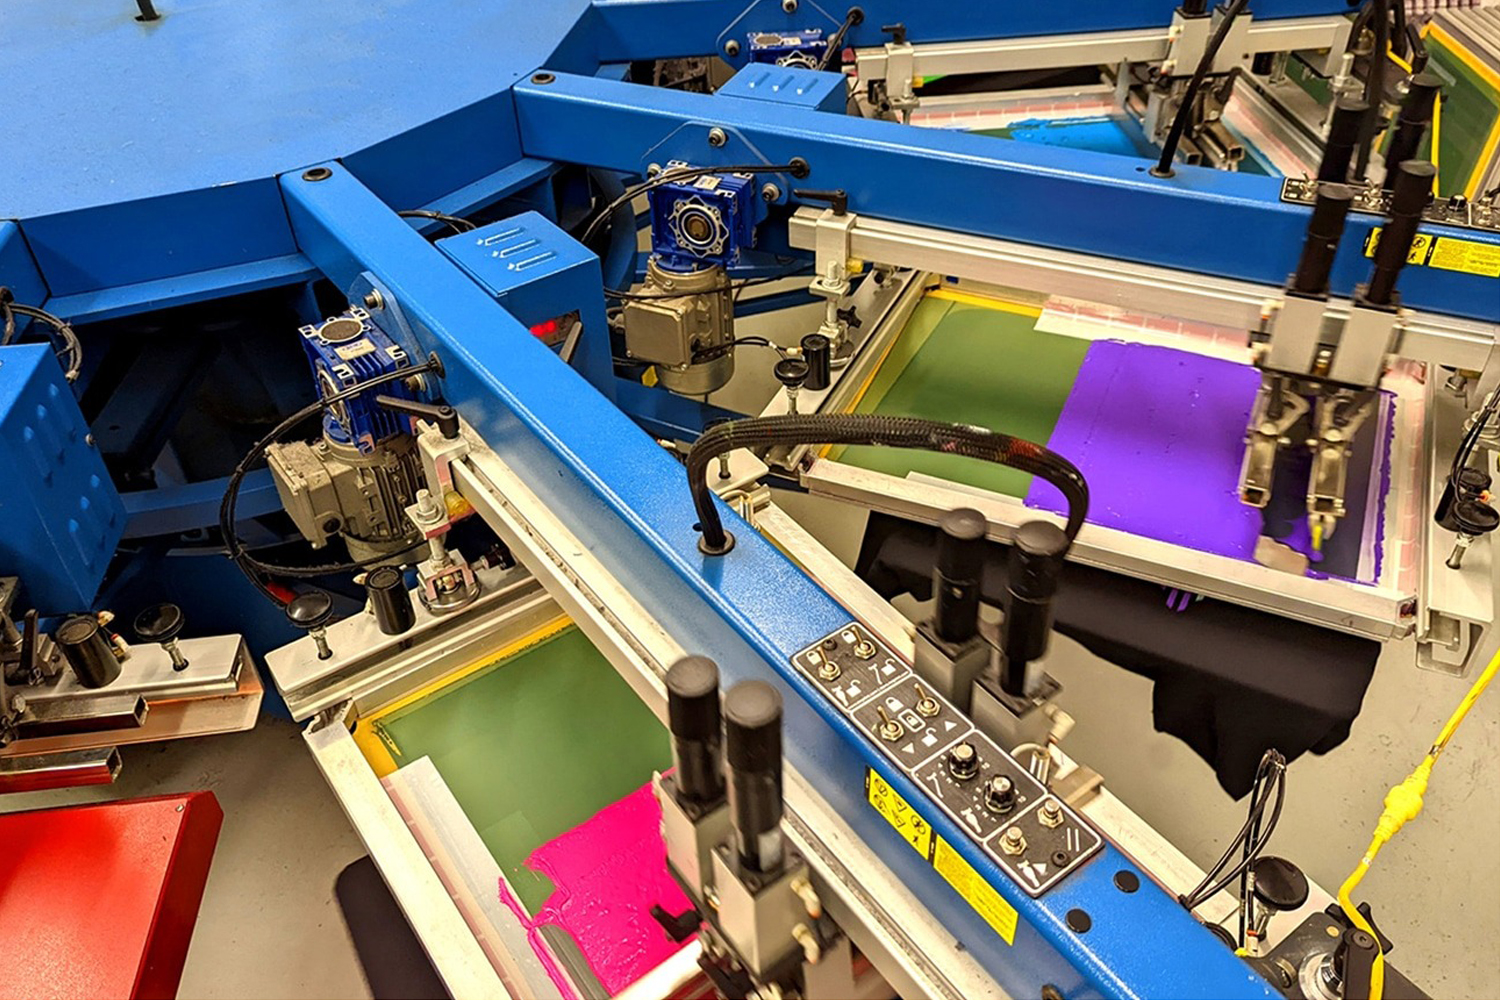
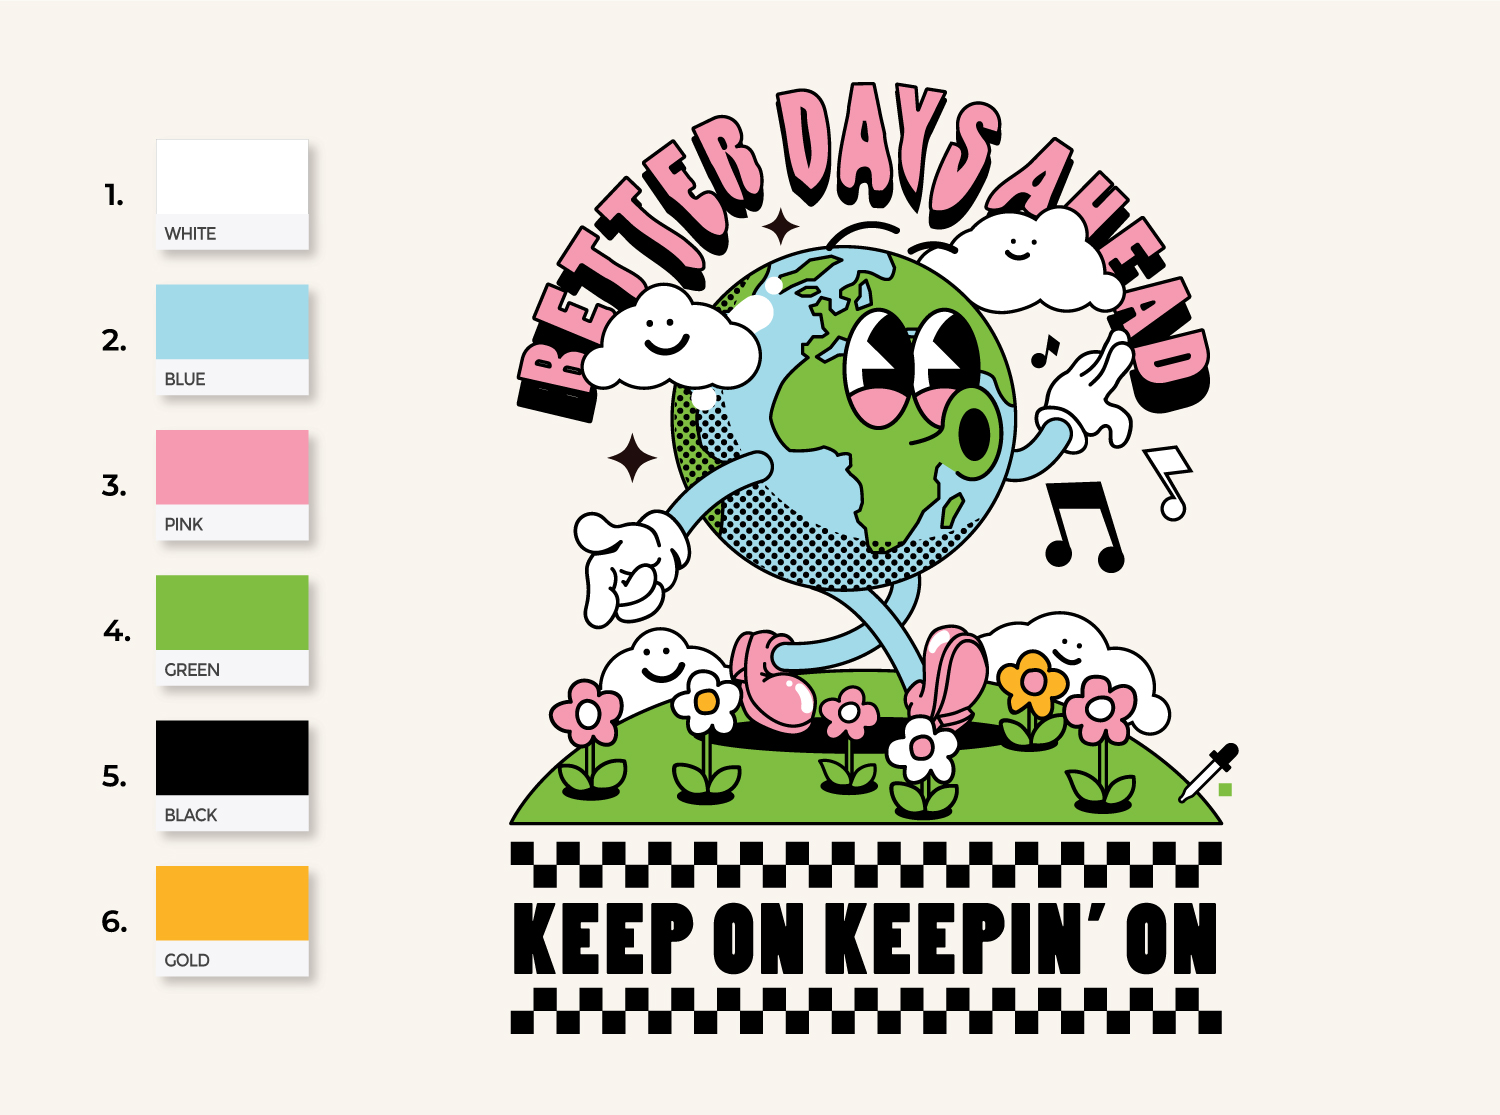
6. Review Print Colors:
Confirm the number of colors in your design. Since each color in your design will require a separate screen, more colors generally mean higher printing costs. Keep in mind that if you’re printing light colors on dark garments, we almost always need to add an additional screen to the press to print an underbase. This acts something like a coat of white primer to ensure that your colors pop. Consider using fewer colors or grayscale shading to achieve your desired look while keeping costs manageable. If you’re unsure about this step, don’t worry! We can determine how many colors are in your design when quoting the job for you.
7. Set a Deadline:
Discuss and establish a clear timeline with us. Consider factors like production time, shipping, and any upcoming events you need the shirts for. Plan ahead to avoid any last-minute rush. Our standard turnaround on custom screen printing is two weeks. If you need something sooner let us know and we’ll try to accommodate!
8. Request a Proof:
Before proceeding with the full order, you’ll receive a proof from us with a mockup of your order. This will give you a tangible idea of how the final product will look and allow you to make any necessary adjustments.
9. Approve the Proof:
Once you’re satisfied with the proof, you can approve it and our team will get started on production. Double-check all details, including design placement, colors, and sizing.
10. Prepare for Delivery:
Ensure someone will be available to receive the order upon delivery. If you live in the area, you’re always welcome to come pick up your order at the shop if you can’t wait to get your hands on your new shirts.
Conclusion
Getting custom shirts printed is a fantastic way to bring your ideas to life. By following this comprehensive checklist, you can navigate the process with confidence, resulting in high-quality, personalized T-shirts that exceed your expectations. Remember, effective communication with the print shop and careful planning are key to a successful screen printing experience. We can’t wait to bring your ideas to life!
Social Media
Check us out on Instagram click here. Compare our work with the competition!
Like us on Facebook click here
Check in on LinkedIn click here