The browser you are using is not supported. Please consider using a modern browser.

Screen Printing at Home
Screen Printing at Home
DIY Screen Printing: Your Guide to Screen Printing at Home

Screen printing is a rewarding way to customize clothing, posters, and more right from home. With a few essential tools and some practice, you can create professional-quality prints. Let’s dive into the essentials for DIY screen printing, covering tools, techniques, and tips for success.
Why Choose DIY Screen Printing?
DIY screen printing is perfect for creating custom designs affordably, and it offers complete control over colors, placements, and textures. Plus, it’s a fun way to learn a new craft that can become a profitable hobby or side business.
Getting Started: Essential Tools for DIY Screen Printing
Before you start, gather these materials:
- Screen Printing Frame: Holds the mesh stencil in place.
- Screen Printing Ink: Use high-quality ink for durable prints.
- Squeegee: For even ink application across the screen.
- Emulsion or Stencil Material: Used to create the design on the screen.
- Drying Rack or Hair Dryer: For quick ink drying between layers.
- Printing Surface: A flat, sturdy workspace or table.
Step-by-Step Guide to DIY Screen Printing
1. Create Your Design
- Start with a simple design on paper or digitally.
- Transfer this design onto a stencil or use photo emulsion for complex images.
2. Prepare the Screen
- Apply emulsion or attach your stencil to the screen.
- Expose the screen to light (if using emulsion) to harden areas not covered by the design.
3. Set Up Your Workspace
- Place the item you want to print on a flat surface.
- Position the screen securely above it.
4. Apply the Ink
- Spread ink evenly across the top of the screen.
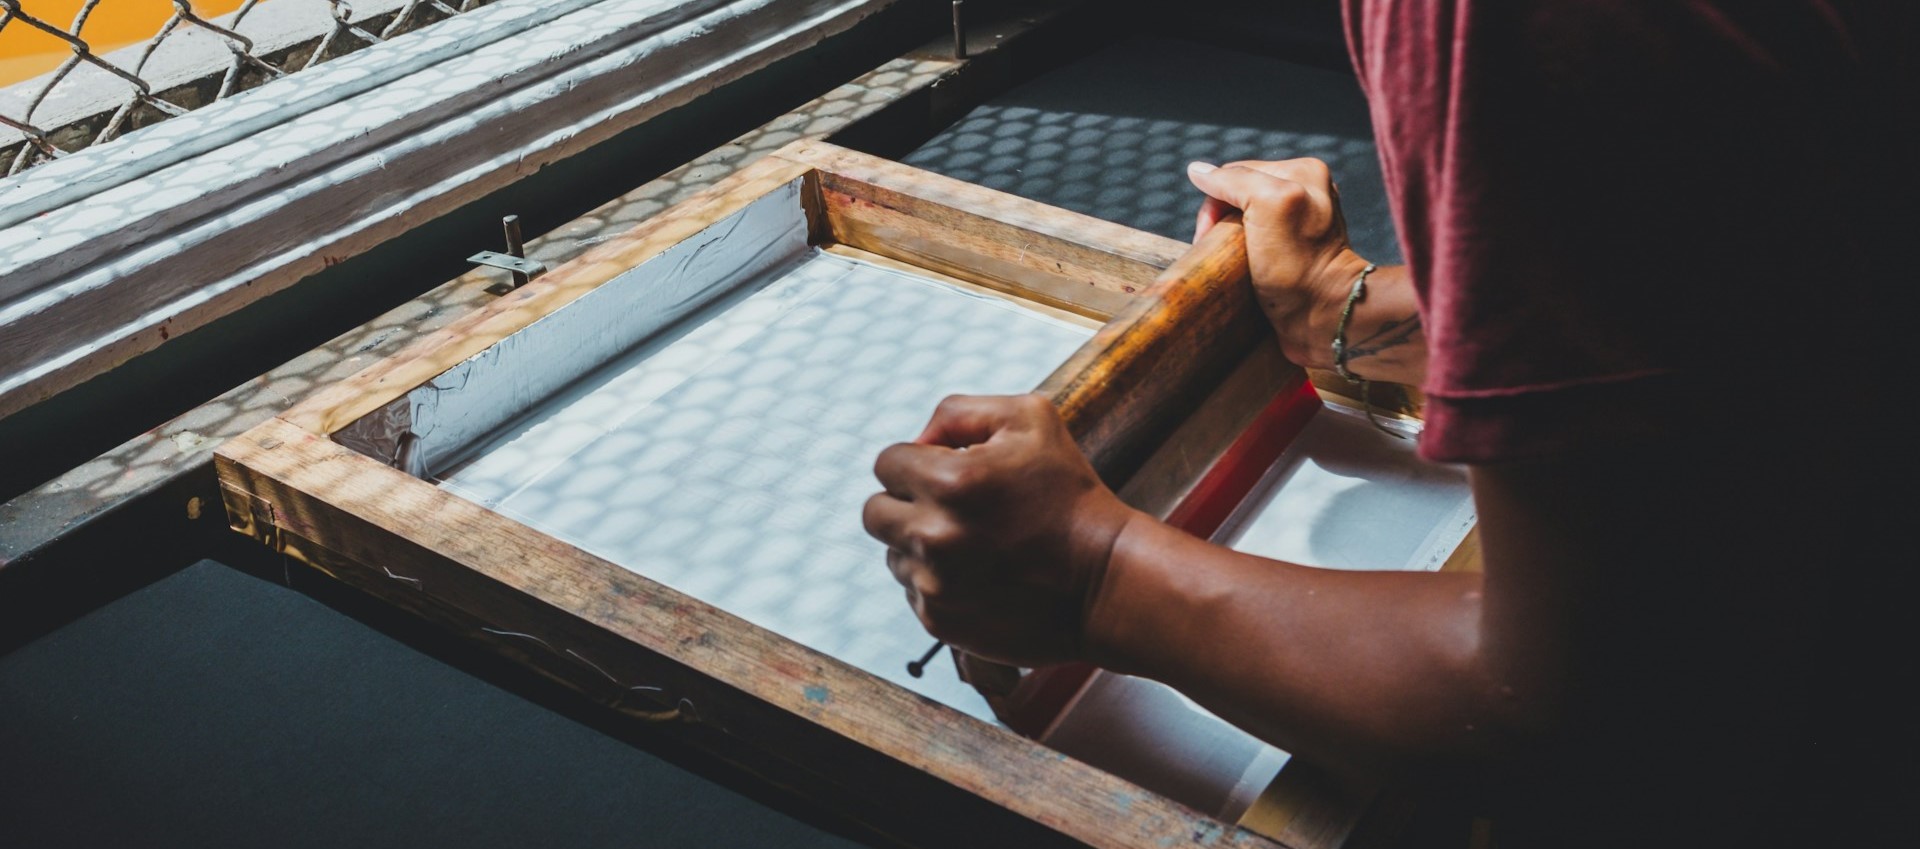
- Use a squeegee to pull the ink down, pressing firmly to transfer the design.
5. Cure and Dry
- Let the ink dry completely to prevent smudges.
- Use a heat gun or iron to set the ink for a long-lasting print.
Tips and Tricks for Better DIY Screen Printing
- Test on Scrap Fabric: Practice printing on old fabric to get the hang of ink application.
- Clean Screens Immediately: Rinse screens immediately after use to prevent ink buildup.
- Experiment with Color Layers: Start with single colors and gradually try multiple layers for complex designs.
Common DIY Screen Printing Mistakes to Avoid
- Uneven Ink Application: Press the squeegee evenly across the screen.
- Ink Bleeding: Use proper pressure and avoid using too much ink.
- Poor Design Transfer: Ensure your screen is well-exposed if using emulsion.
DIY screen printing is accessible and cost-effective, with endless creative possibilities. With practice, you’ll be producing high-quality prints in no time. Ready to make your mark with custom designs? Start your DIY screen printing journey today!
FAQs
What ink works best for fabric screen printing?
Plastisol is best, but water based ink can work in a pinch
How long does DIY screen printing ink take to dry?
If you cure it with heat, it can take minutes!
Is DIY screen printing cost-effective?
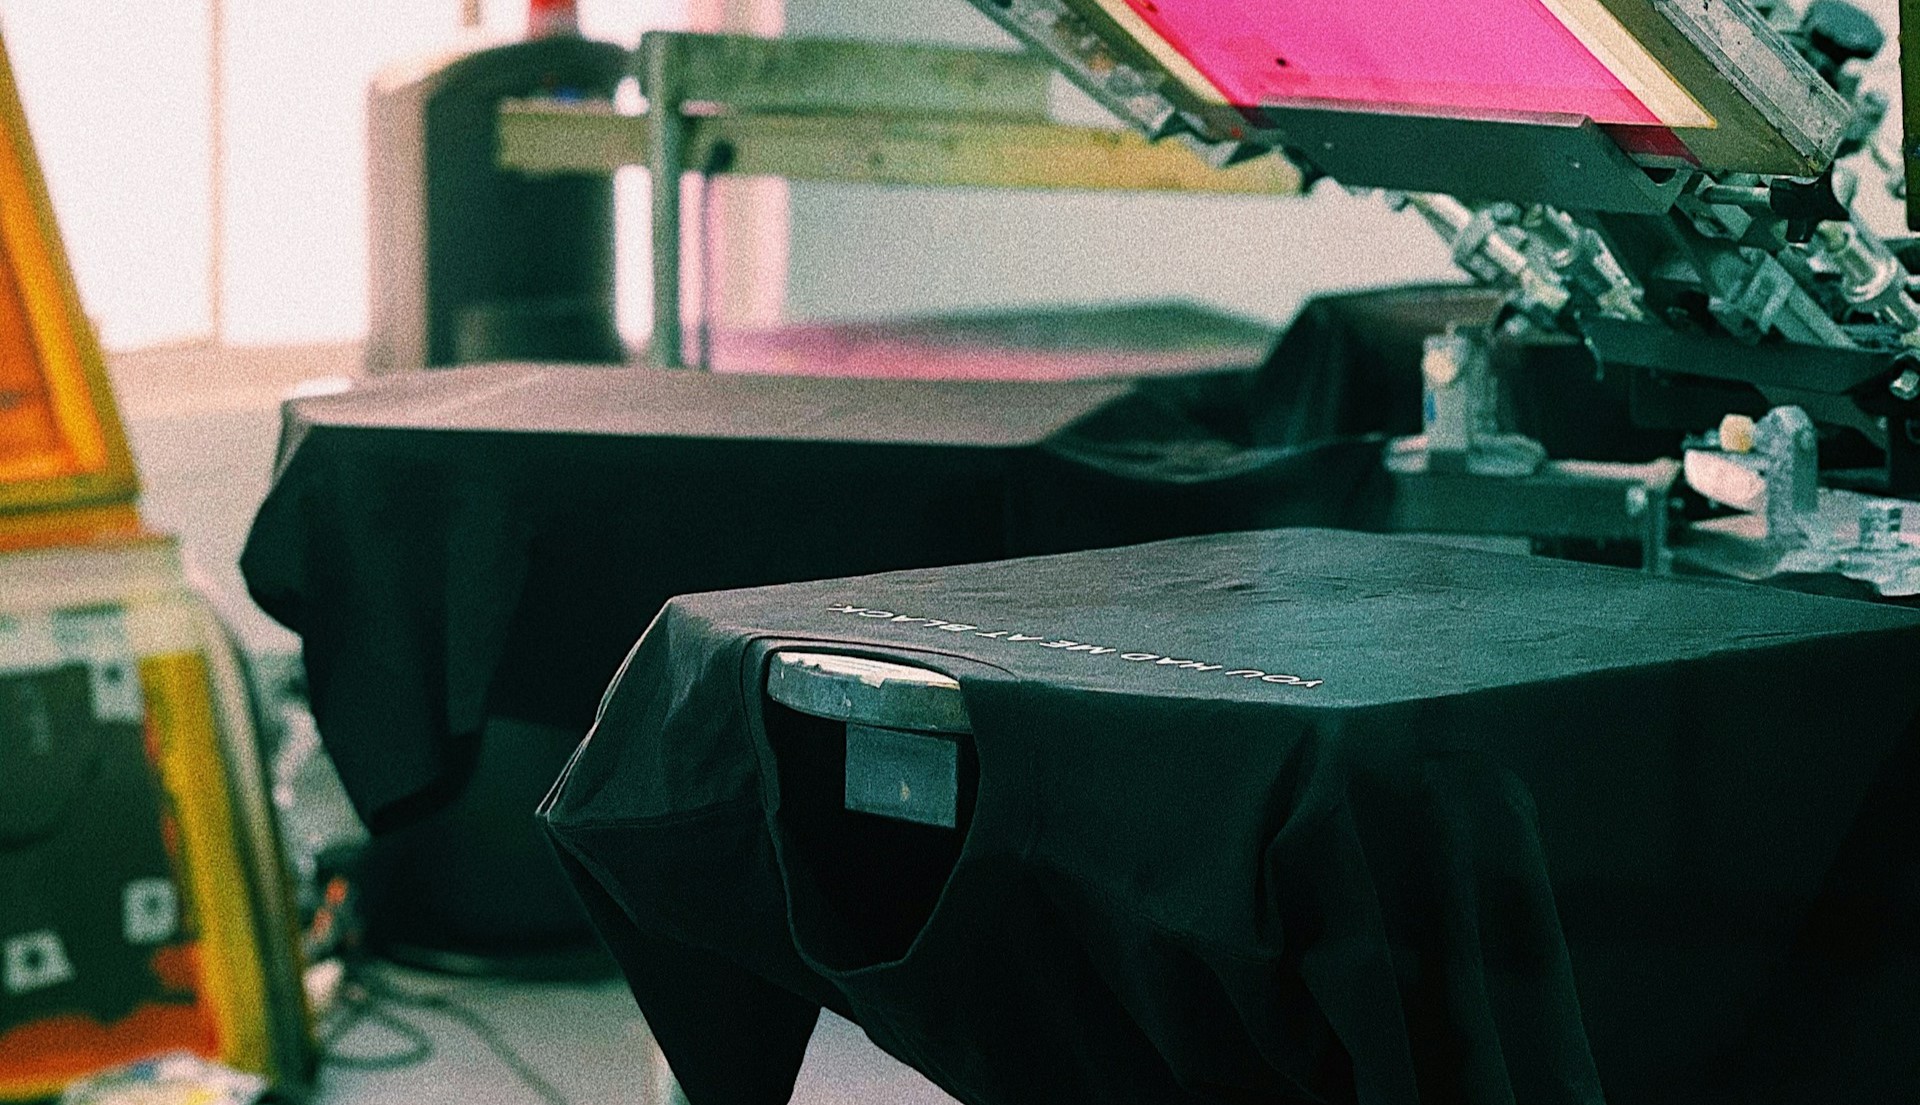
While cost-effective, it is time consuming. If you have to print a large volume, then it is easier to contact Charm City Screen Print to get your custom apparel made.
Social Media
Check us out on Instagram
Like us on Facebook
Check in on LinkedIn
