The browser you are using is not supported. Please consider using a modern browser.

How to Send Artwork to Screen Printers: A Step-by-Step Guide for the Best Quality Results
How to Send Artwork to Screen Printers: A Step-by-Step Guide for the Best Quality Results
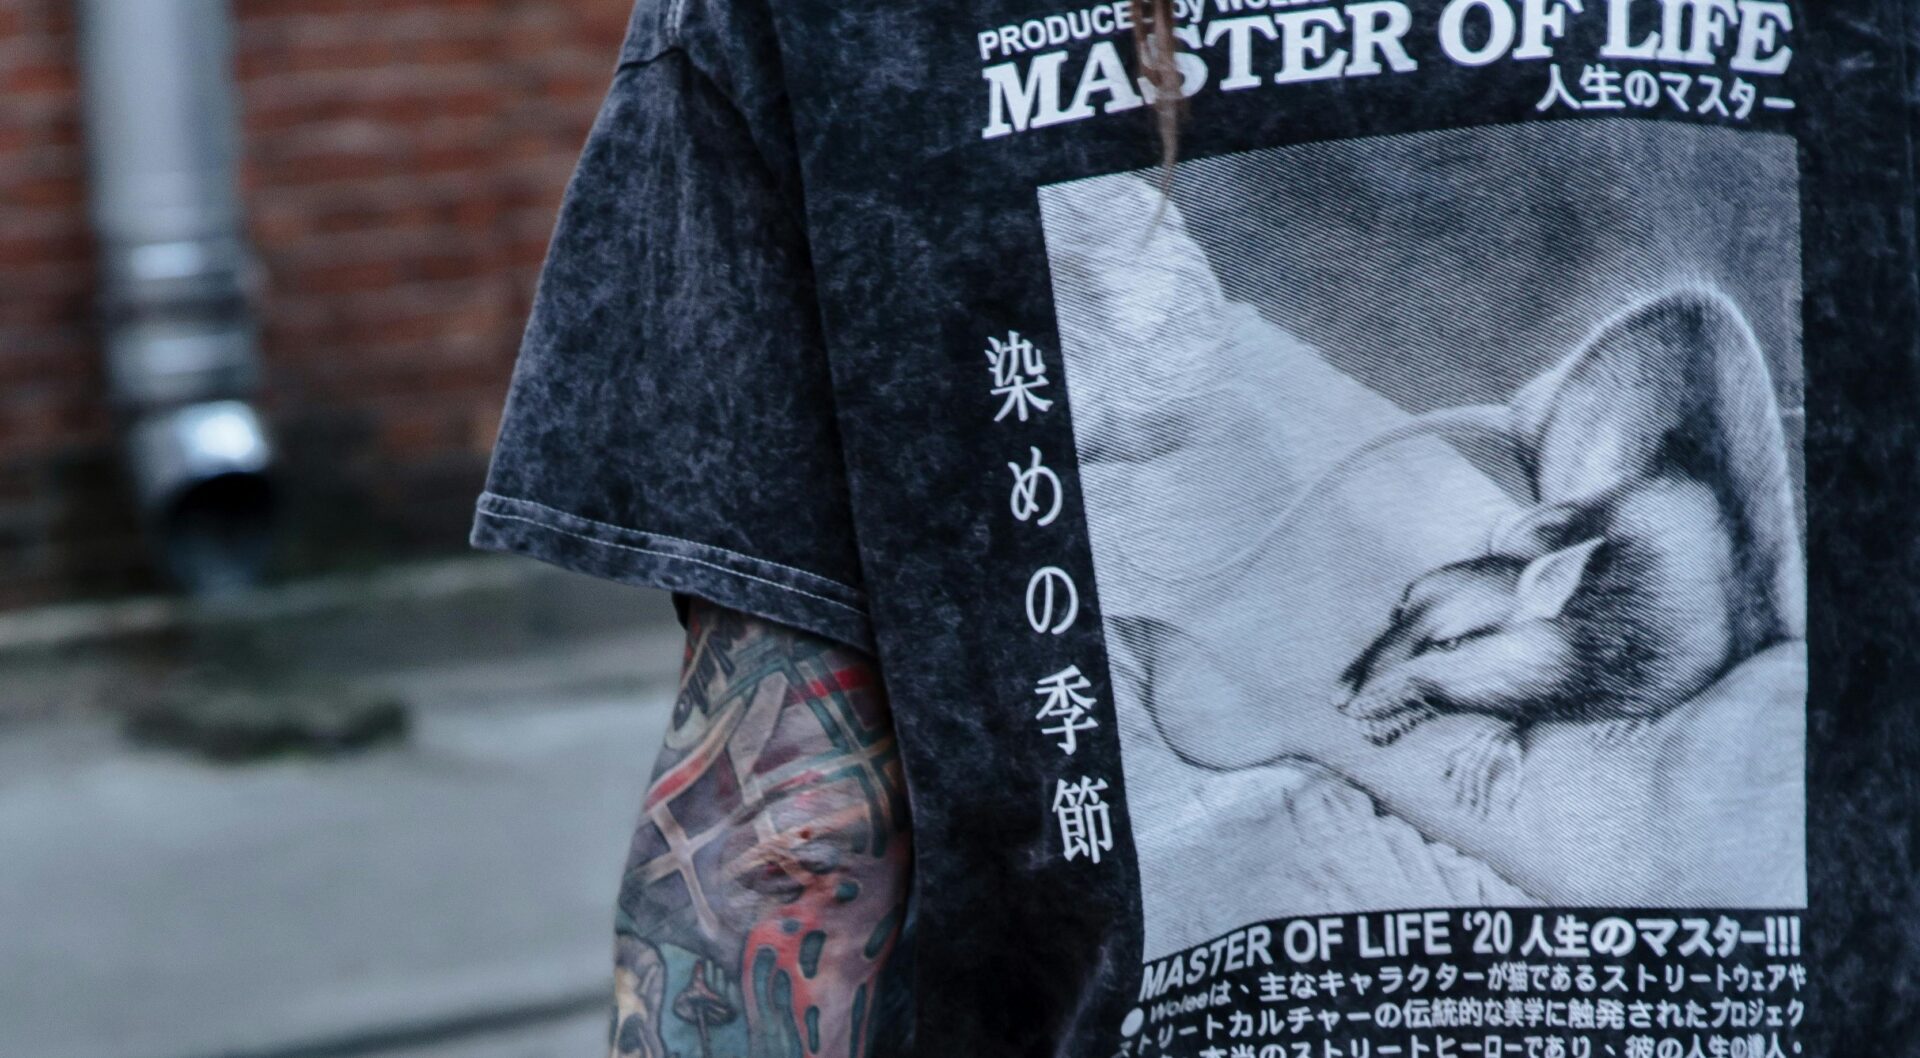
Creating stunning screen-printed merchandise involves several crucial steps. One of the most significant is sending your artwork to the art wizard. Ensuring that your artwork is correctly prepared and formatted can significantly impact the final quality of the prints. Here’s a comprehensive guide on how to send your artwork to Charm City Screen Print to achieve the best possible results.
Understand the Requirements
Before anything else, it’s essential to understand the specific art requirements of a screen printer. Each printer may have different specifications, so always start by asking them for their guidelines. Generally, these requirements will include:
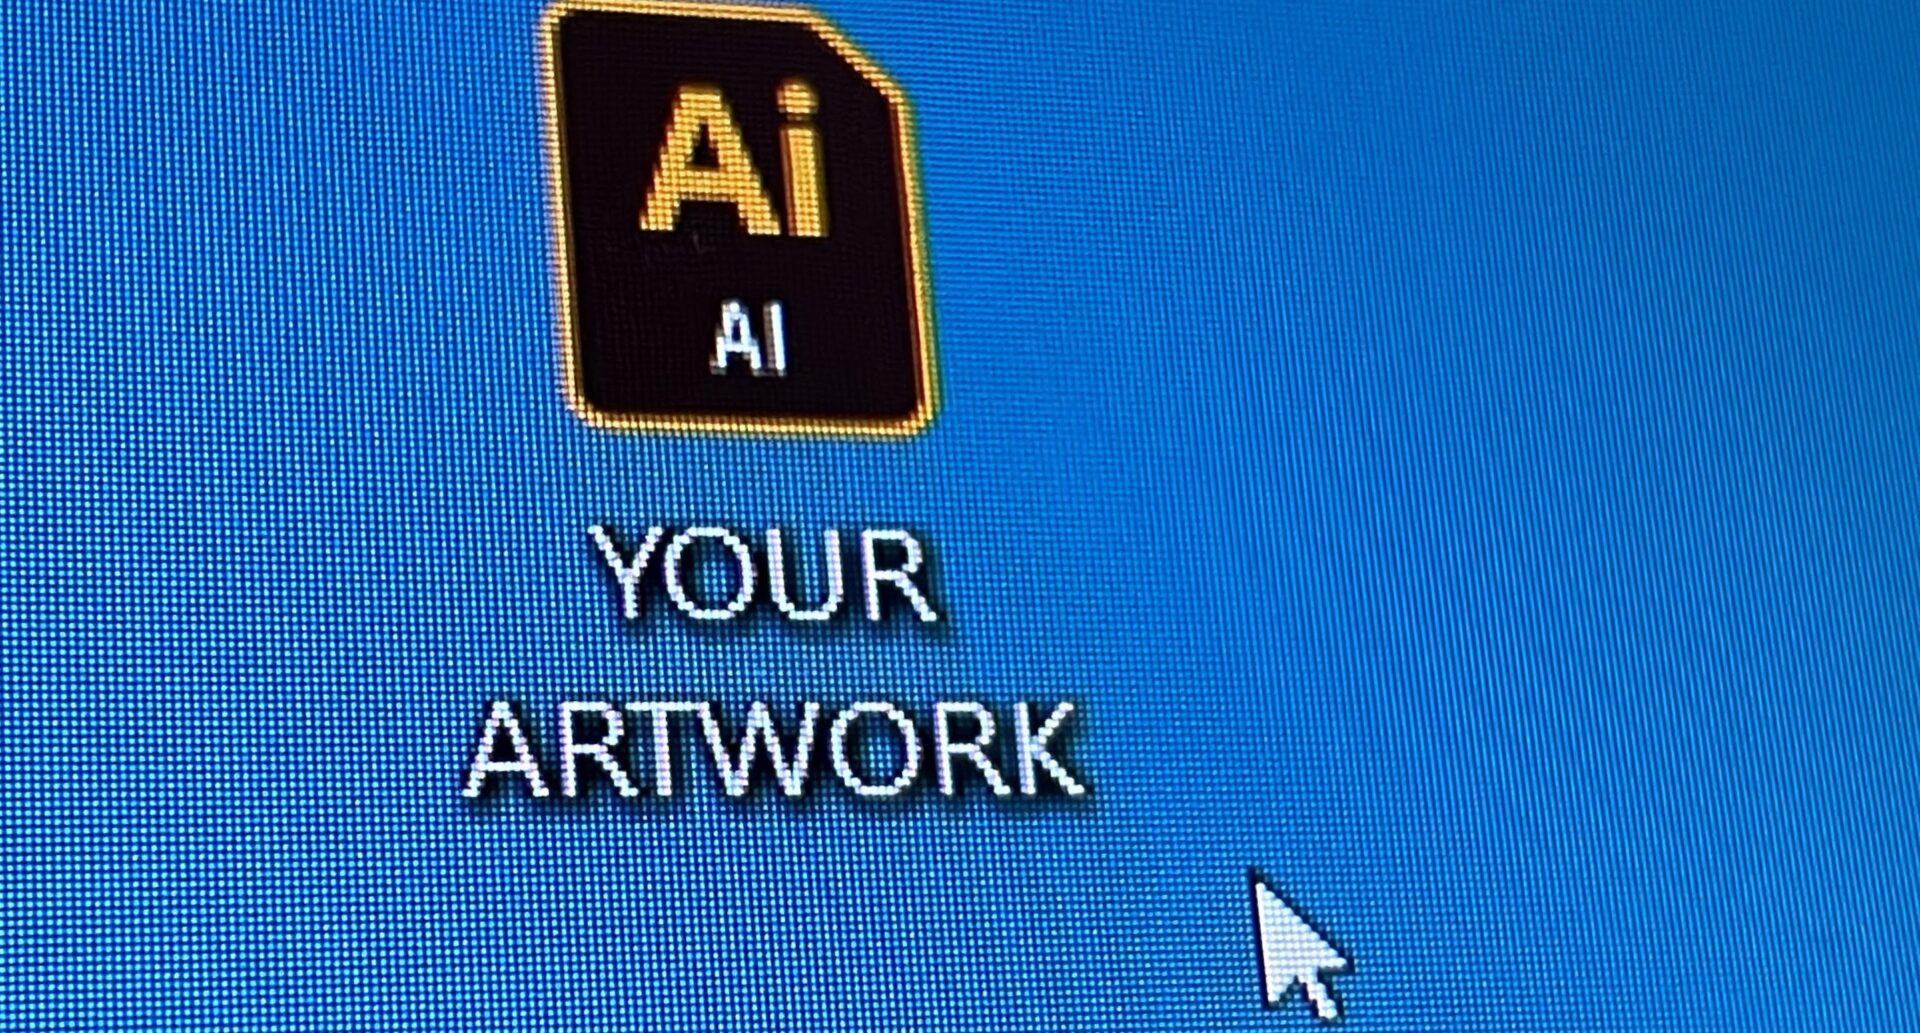
- File format: Commonly accepted formats include AI, EPS, PSD, and sometimes high-resolution PNG or TIFF files.
- Resolution: Typically, a resolution of 300 DPI (dots per inch) is required.
- Color mode: CMYK is usually preferred over RGB for printing purposes.
- Bleed and trim lines: Some printers require artwork to include these to ensure accurate cutting (Not important for us).
Prepare Your Artwork
Once the requirements are clear, the next step is to prepare your artwork. This involves several critical stages:
Create High-Resolution Images
A high-resolution image is vital for quality screen printing. Low-resolution images can result in pixelation and poor print quality.
- Start with a high-resolution image: Ensure your original artwork is at least 300 DPI.
- Vector graphics: Use vector graphics WHENEVER POSSIBLE, as they can be scaled without losing quality.
![]()
Use Proper Color Modes
Screen printers usually prefer artwork in CMYK color mode because it more accurately represents how colors will appear when printed.
- Convert to CMYK: Ensure your artwork is in CMYK mode rather than RGB. This can typically be done in your design software under the color settings.
- Spot colors: If specific colors are crucial, use spot colors and provide the Pantone (PMS) numbers to the art department.
Save your artwork in the Correct Format
After preparing your artwork, the next step is to save it in the correct format. This step is crucial for maintaining the quality and integrity of your design.
Vector Formats
- AI (Adobe Illustrator): Preferred for its versatility and ability to preserve vector data.
- EPS (Encapsulated PostScript): Another common vector format that maintains high quality.
Raster Formats
- PSD (Photoshop Document): Ideal for complex images with multiple layers.
- PNG/TIFF: Use these for high-resolution raster images. Ensure they are 300 DPI.
Double-Check Your Work
Before sending off your artwork, a thorough review is necessary to catch any potential errors.
Proofread and Inspect your artwork
- Text and spelling: Double-check all text for any spelling or grammatical errors.
- Design elements: Ensure all elements are correctly aligned and nothing is missing.
- Color accuracy: Verify that all colors are as intended, especially if using spot colors.
Use a Checklist
Creating a checklist can help ensure nothing is overlooked.
- File format and resolution
- Color mode and spot colors
- Bleed and trim lines
- Layers and transparency settings
Communicate with Charm City Screen Print
Effective communication with us is essential for achieving the best results. Keep an open line of dialogue throughout the process because we’d be happy to accommodate!
Provide Detailed Instructions
- Print specifications: Clearly outline all specifications, including file format, resolution, and color details.
- Special instructions: Mention any unique requirements or preferences, such as specific Pantone colors.
Confirm Receipt and Review
After sending your artwork, confirm that the art department has received it and review the details with them.
- Request a proof: Ask for a digital or physical proof to review before the final print run.
- Make adjustments: If any changes are needed, communicate them promptly to avoid delays.
Ensure a Smooth Handoff
When everything is ready, it’s time to send your artwork to us. Ensuring a smooth handoff can prevent misunderstandings and errors.
Use Reliable Methods
- Email: For smaller files, email is a quick and convenient option.
- Cloud services: For larger files, use cloud storage services like Google Drive, Dropbox, or WeTransfer.
Follow Up
After sending your artwork, follow up with the art department to confirm everything is in order.
- Confirmation: Request confirmation that your files have been received and are in the correct format.
- Questions: Be available to answer any questions the sales rep or art department may have.
Conclusion
Sending artwork to screen printers requires careful preparation and attention to detail. By understanding the printer’s requirements, preparing high-quality artwork, and maintaining clear communication, you can ensure the best possible print quality. Always remember to double-check your work and follow up with your sales rep to confirm everything is in order. With these steps, you’ll be well on your way to achieving stunning screen-printed designs.
Previous Blog Post: Summer 24 Apparel Trends
Social Media
Follow us on Instagram
Like us on Facebook
Check in on LinkedIn